


How I Coded the Disco Elysium Animator App
Every combination of words has been played out. The atoms don't form us anymore: us, our love, our unborn daughters.

Disco Elysium. An exceptional game with multilayered world-building, excessive conversations, and weird life choices.
Do you know it exists?
Are you amazed by the fact it exists?
I was amazed. I’ve been amazed since I discovered the game last summer.

Last summer, my thoughts went:
Damn, this game is good.
Oh, there is a dialogue editor in the menu. But it only generates pictures. Hmm. I’m sure fans have made an animation maker. After all, there is such an app for Ace Attorney fans that enables lots of meme videos. Let me Google it. “disco elysium dialogue generator”. “disco elysium animation app”. Nothing? Oh well.
*one playthrough later* DAMN, THIS GAME IS GOOD. Why doesn’t it have an animation maker app? It needs an animation maker app.
And here is how I built it.
Step 1. Set the goals
A good project begins when four areas of motivation come together: you have a cool vision, you see the benefit for users, you see the benefit for yourself, and you know you can bring this idea to life.
In my case, everything clicked.
I had a vision: I wanted to build a handy app to create stylized vertical dialogue videos.
For Disco Elysium fans, it would be a helpful tool for creating meme content. The format of vertical videos would be great for posting on modern platforms, and people with video editing skills can use it as a UI part for more sophisticated parodies.
For me, it would be a good reason to practice some skills: the project required me to develop/design some complex UI parts and program using React. I was familiar with other frameworks and did try React before, but never had a chance to implement a full-fledged React app. Here, I planned to write frontend with a little server code, and React+Next.js were a good choice to keep everything in a small app together.
And was I capable of finishing this project? I knew I could create nice UI, but the animation and video generation was the tricky technical part. Yet, I wanted to try, so I started thinking about what exactly I should do.
Step 2. Sketch the UX
How would the app look? A dialogue editor and a “Download video” button.
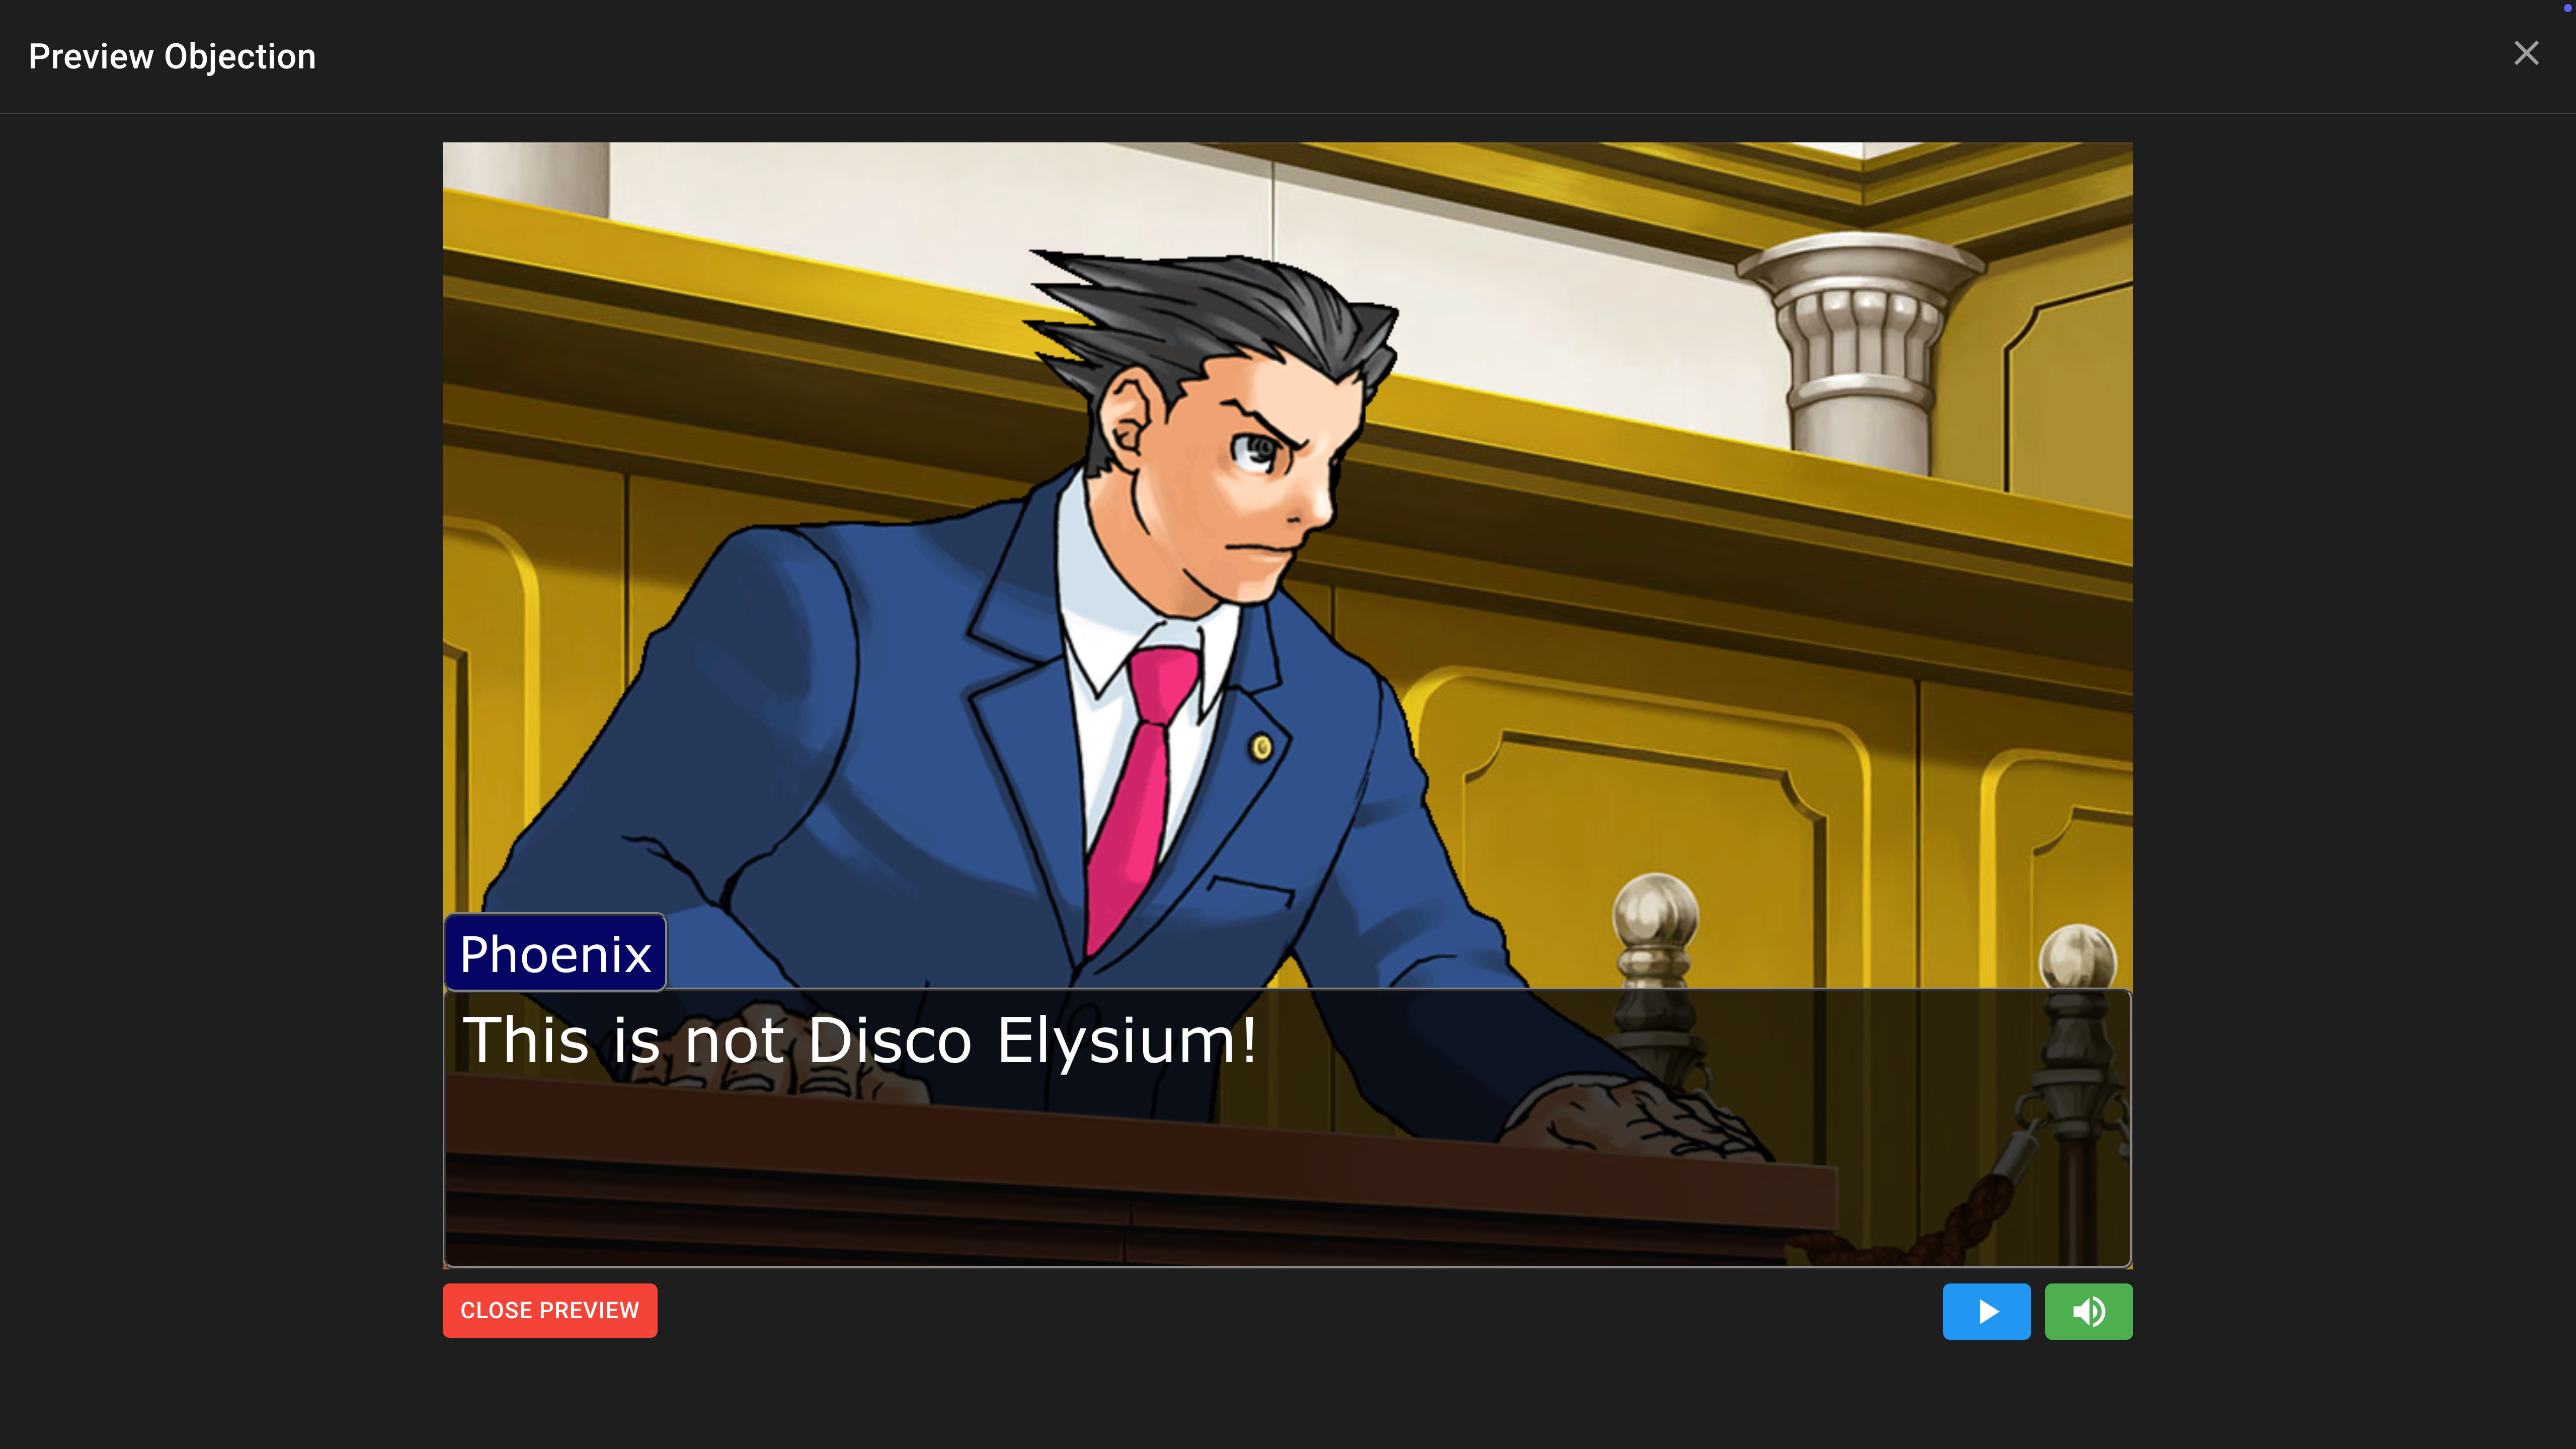
I knew of a similar app related to another game, Ace Attorney, called objection.lol. Great project, by the way, and it’s impressive how feature-packed it is. Yet, I had used it, and wanted to make a couple of things completely different in my app.
First, I wanted to make the UI clean. As clean as possible.
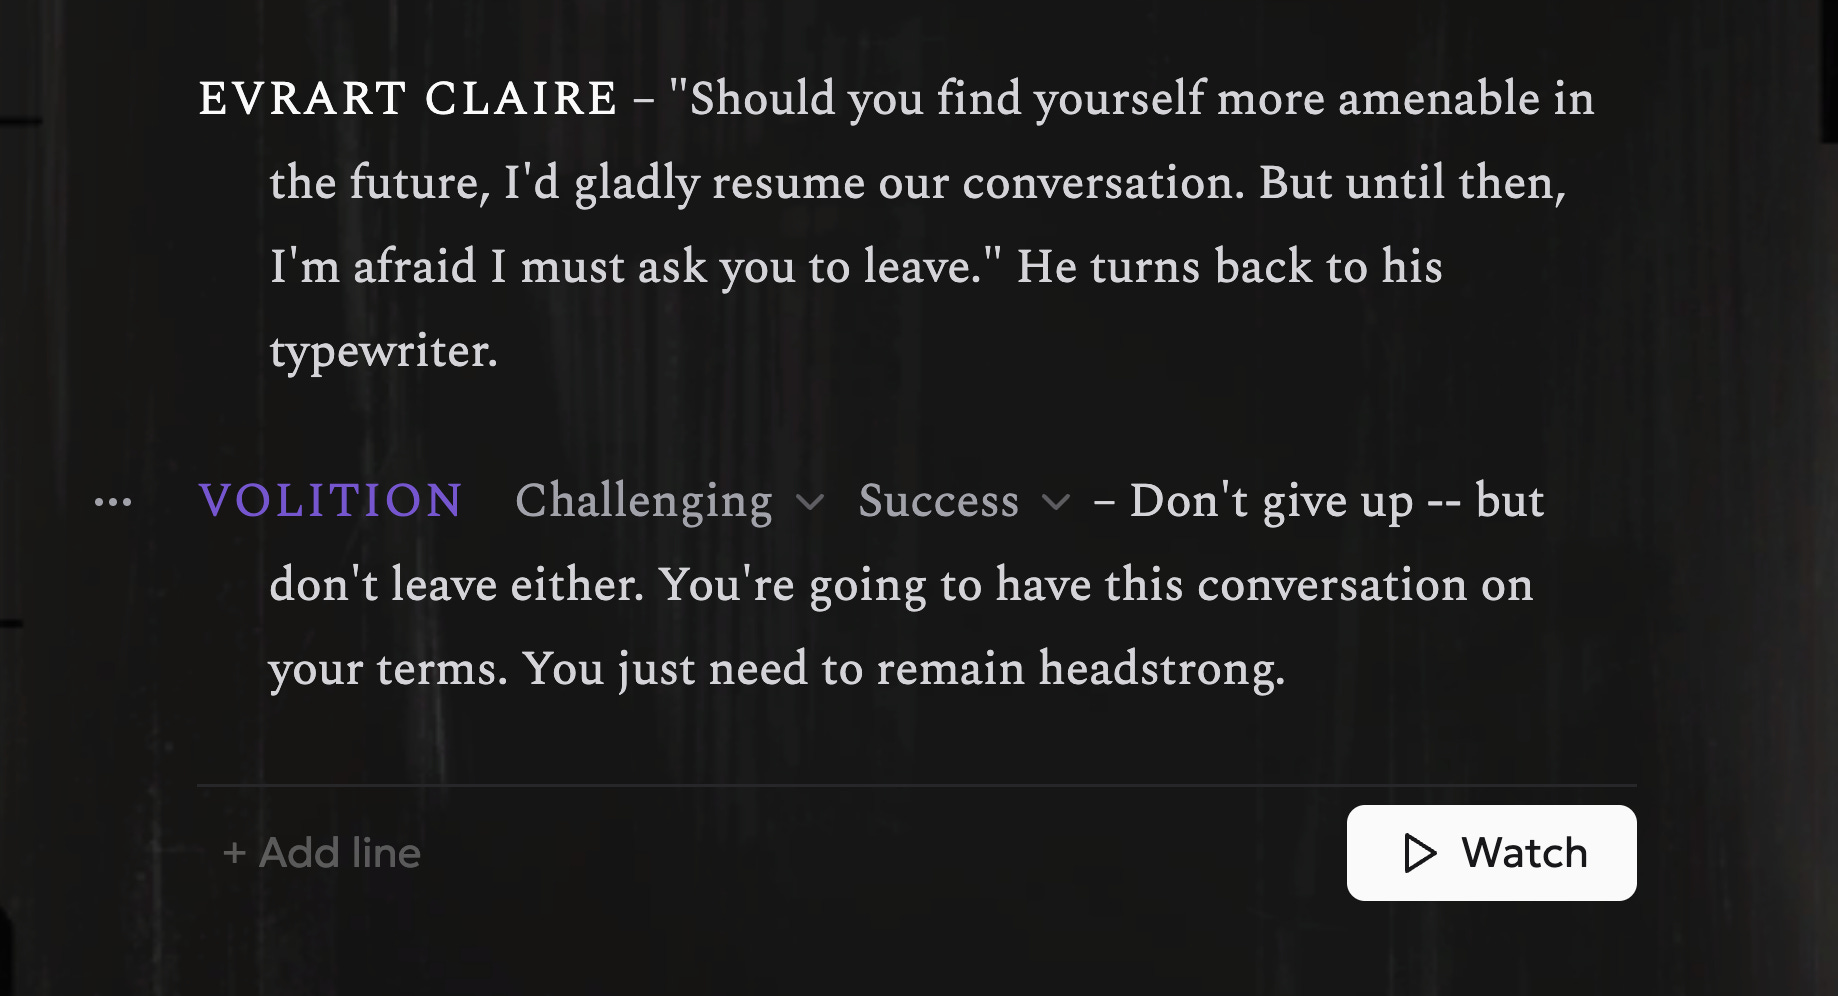
objection.lol shows lots of buttons, menus, and switches. I envisioned a perfectly clean editor, so what users see is essentially the dialogue text. You see the text—you can edit the text. Yes, you should be able to change characters, reorder the lines, choose extra parameters like skill checks, but only when you want to do it. And when you think of a feature, you must be able to find it.

I didn’t prototype the interface in Figma or anything: I wanted to perfect the interaction, so I built complex UI components and reworked them several times. Picture prototyping doesn’t do the trick. To illustrate, let me spoil the result (even though it didn’t come out perfect):
Second, I decided the rendered video must exactly match the preview.
When you edit a script in objection.lol, you have two ways to watch the animation: either instantly open the preview or spend some time to render and download an mp4 file. objection.lol renders the video on the server in some way that doesn’t match the in-browser preview. It is similar, but the details are off: sometimes the lines break differently, sometimes non-Latin letters display incorrectly.
How can I simplify this? I did some research. It turned out there is no way to record a webpage in browser, so I still had to build mp4 on the server. Rendering a video on the server would always take some time though. That meant I had to keep the preview mode and the download separated.
However, I decided the video must match: I should generate the in-browser preview and mp4 video in the same way. I decided to show the preview animated dialogue with regular HTML/CSS/JS and to render a video… by starting a headless browser on the server, playing the same HTML/CSS/JS, and recording it. Yes, that was a weird solution. But this was how I kept only one rendering engine.
Step 3. Develop a proof of concept
I experimented a little.
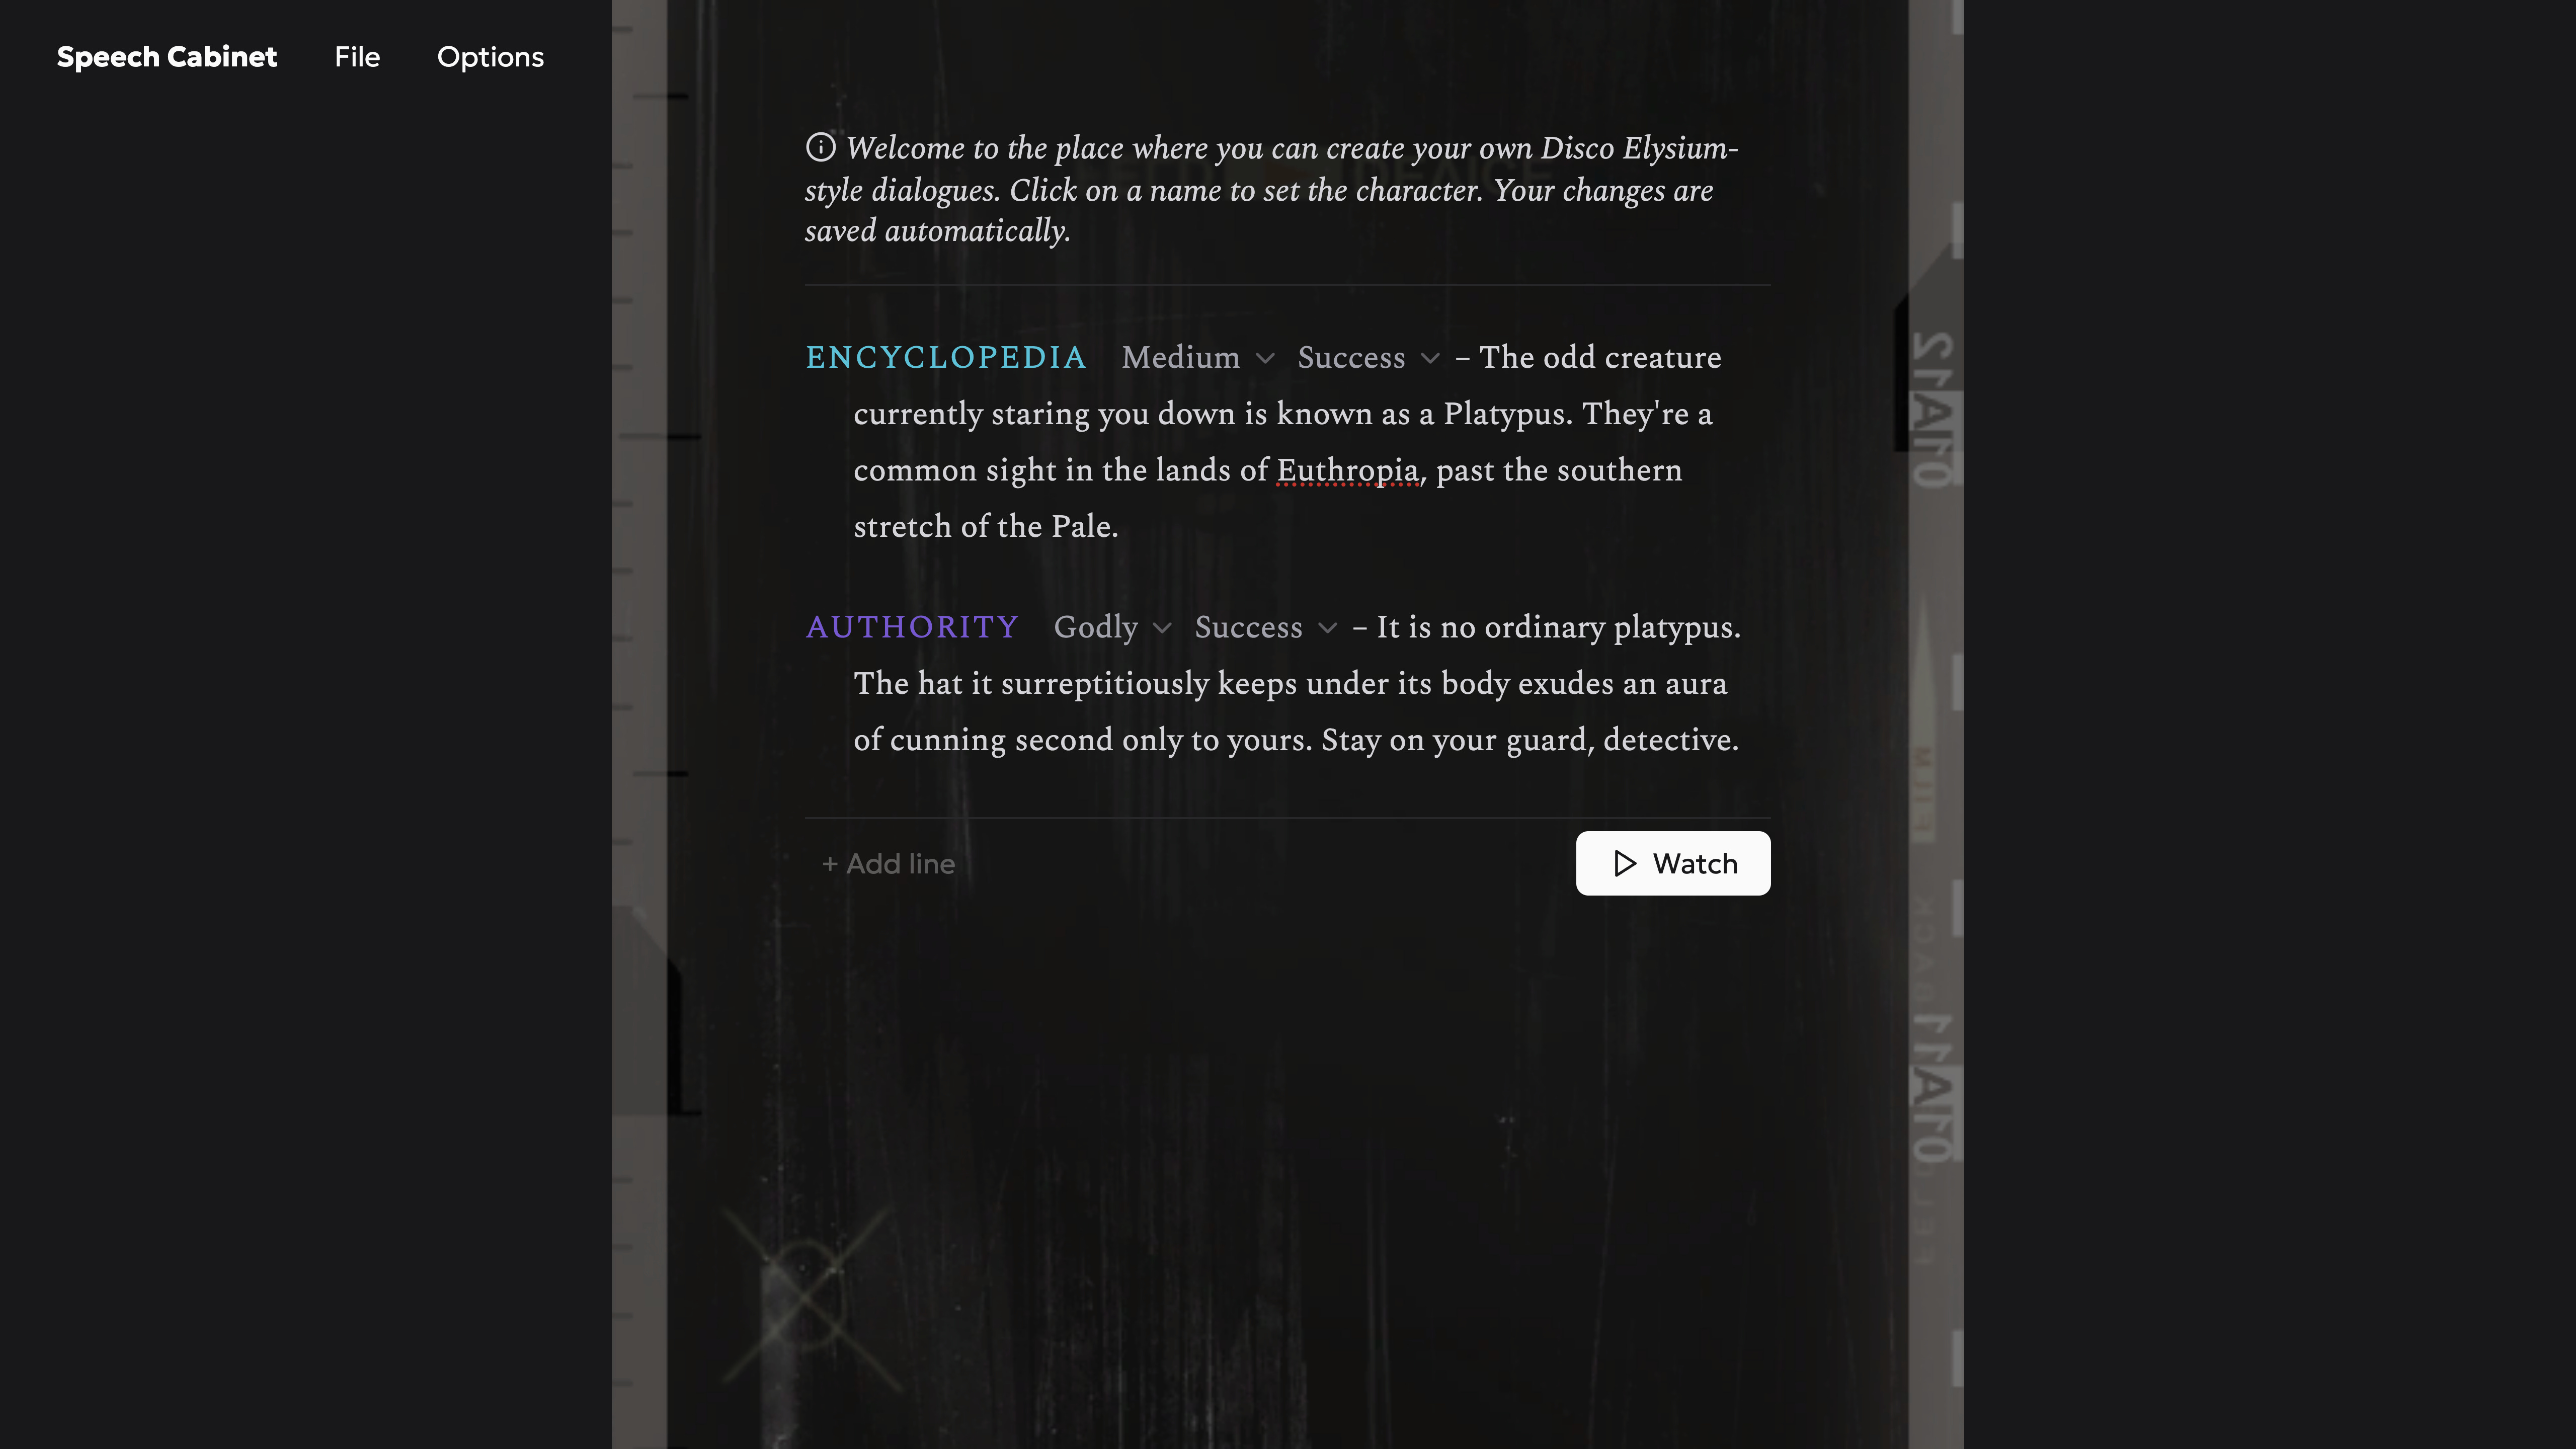
An easy part was building a simple UI that mimicked the game. I put together text inputs and name selects, copied the skill colors from Disco Elysium Wiki, used some layout tricks for hanging indents, and searched through Google Fonts to find a free font similar to the one in the game.
The UI had two modes: edit and preview. And the download button.
Here is a demo I made back then:
Recording a browser, on the other hand, was tricky.
There are indeed tools for controlling the browser on the backend, such as Puppeteer. You can open pages, click some buttons, all with code. What I needed was just to open a page and observe the animations.
But I also needed to record videos of the browser. There are special tools for recording a Puppeteer-controlled browser. I tried several libraries, but either they didn’t suit my use case or I couldn’t make them work on my Mac. The most popular option, timecut, didn’t record CSS animations, which is the thing I utilized a lot because it made animations simple and controllable.
Ultimately, I found a lesser-known library (WebVideoCreator) with readme in Chinese ^_^ It had some features which would be helpful in my specific case, but most importantly, it worked. (Well, it didn’t always run in Docker, but at least in some ways it worked…) What the library did was for each frame simulate a page at a given moment and take a screenshot, then glue screenshots together to create a video.
I finally had a draft of an app where you can edit the dialogues and download the video. Why not share!
Step 4. Farm karma on Reddit
(I mean, Step 4. Consult with the community)
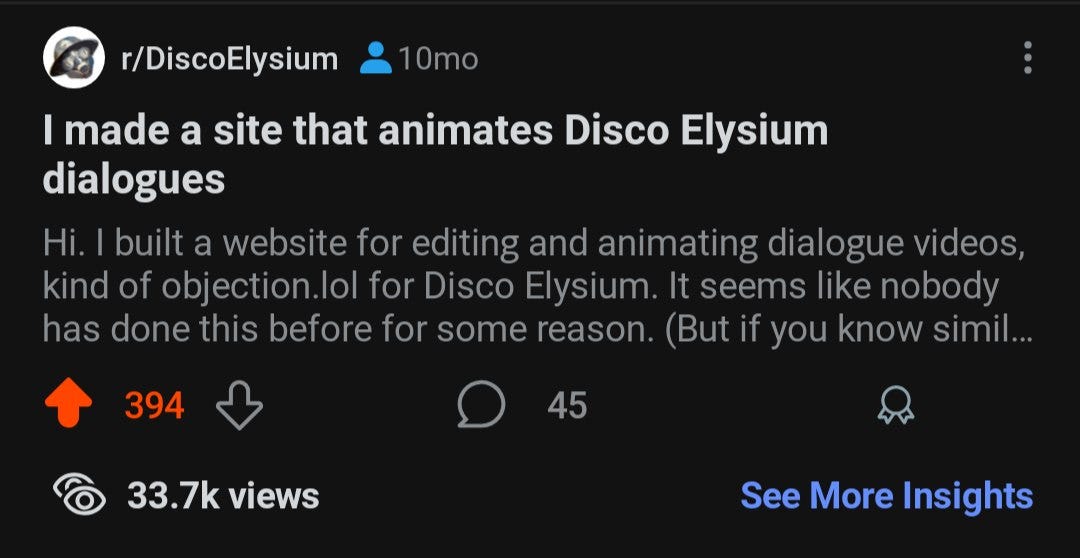
I couldn’t decide on the app name—also, I couldn’t decide what features were most important to focus on next. So, I decided to ask the community. When I got my app working, I posted a demo with my question:
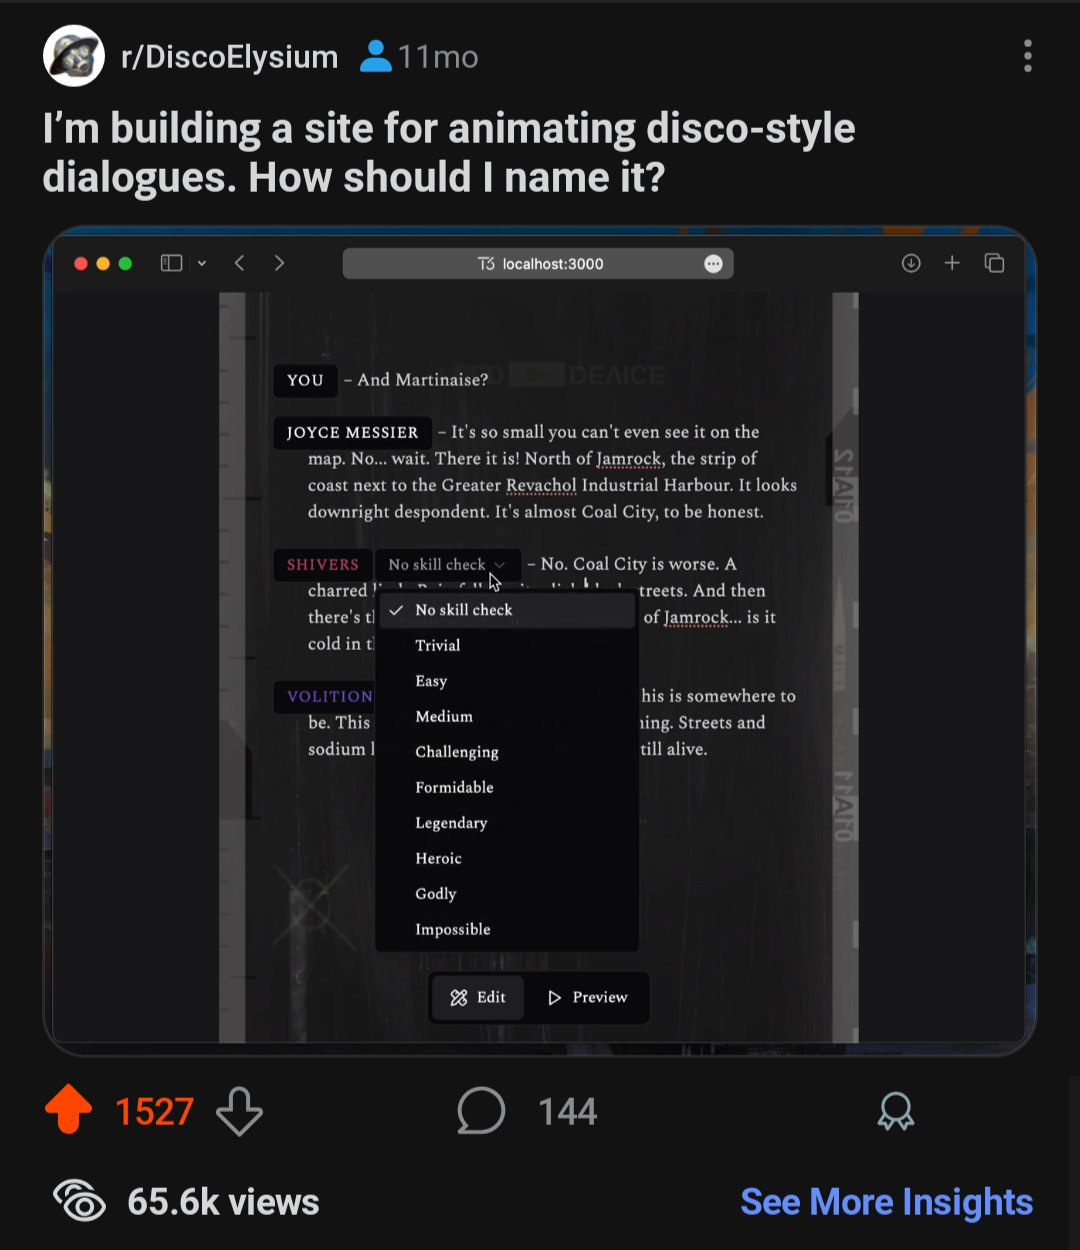
And it blew up. Okay, maybe it’s not blowing up, but I certainly didn’t expect to get so many upvotes and comments. Note to myself: a simple question for opinions on a project is a good way to get noticed.
People suggested lots of beautiful names, although most of them were poetic and wordy—of course, these are Disco Elysium fans we’re talking about—while I wanted something short and catchy for the app name. I settled on Speech Cabinet: this name referenced Thought Cabinet, an important gameplay feature.
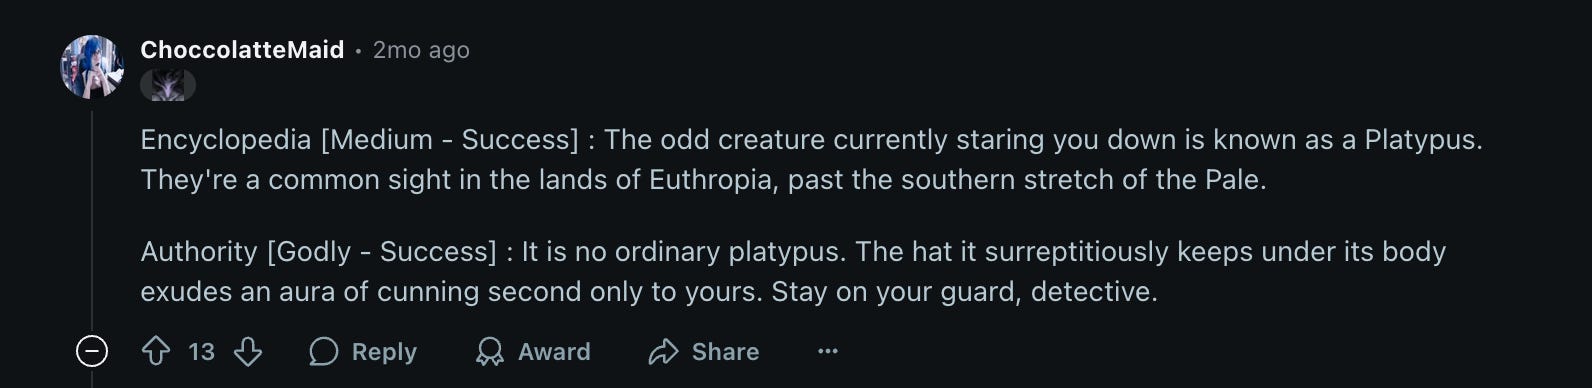
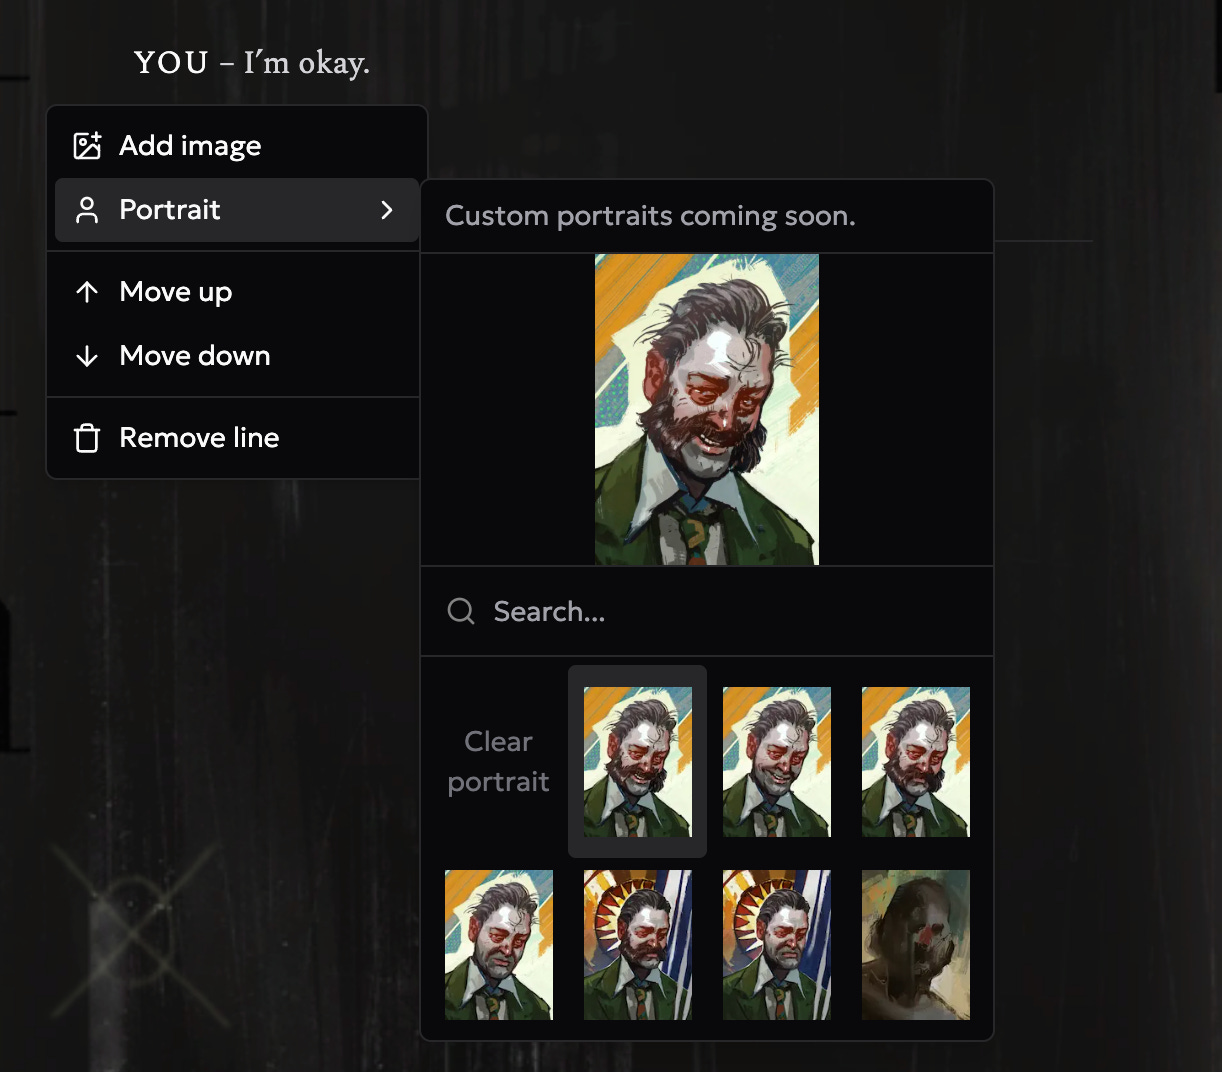
As for other suggestions, commenters said they wanted to see the portraits, just like in the game. I didn’t consider portraits before, because in the game they are shown outside the dialogue tape—but this certainly was a cool feature, so I decided to add portraits to the corner, hoping this would resemble the game’s UI feel.
Step 5. Develop the complete app
Several things were left to do before the release.
Clean UI
I reworked the interface, aiming to make it cleaner. For name (and skill check) pickers, I removed the black buttons that were on the first demo and made them look like text but still visually imply they are clickable. Action menu for the line shows on hover. I polished it here and there, and I liked it.
On mobile, though, it felt off. I came up with some changes that would make UI more natural on mobile.


Although the UI looked nice, I didn’t manage to implement the perfect UX. I wanted to add drag-and-dropping lines, but that apparently required too much effort to be done right. Sometimes general interactions feel wrong, too. Maybe I will come back to them sometime in the future.
Portraits
I took character names and portraits from Disco Elysium Wiki. There were too many to collect them manually, so I had to crawl the wiki to save them all.
I kept the same philosophy: the features don’t distract you, but you should find a feature when you want it. Thus, I placed the portrait picker in the line menu for the cases when it made sense to change the character’s portrait—so users can choose a portrait for Harry or custom characters.
Job queue
The server starts a browser each time a user asks to download a video—we have to control this load, so I needed to implement a job queue. My searches for a simple tool ended on pgboss, a queue tool for postgres (apparently, postgres is packed with lesser-known features, including message queueing features which pgboss relies on).
Then, I made a nice component with a progress bar. When you request to download a video, you can watch your position in the queue and then the rendering progress:

Saving dialogues
For a smooth UX, I wanted to auto-save the dialogue rather than require users to always Ctrl+S. The dialogues are kept in the browser, so you can close the tab, reopen it, and continue editing!
But what if you want to come back to a dialogue you edited earlier? I could add authentication and keep dialogues in the cloud, but I decided to keep the first version simple. So, no logging in. Instead, you can download the current dialogue as a file and open it later.
That was easy because I already stored the dialogue data in a single TypeScript structure. Dump it as JSON, voilà. Oh, and to keep it fancy, I gave such files `.disco` extension. Hard core to the mega!
Step 6. Farm karma on Reddit, again. But a little less
I released the app and made a new post. But no bait in the title means fewer upvotes! :D (Also, strange Reddit mechanics: it doesn’t show a picture in the feed if you publish a text post, didn’t know that.)
It still went great, though. I was happy to see so many thankful comments, and eventually found some generated videos in the wild. I don’t collect statistics, but the database shows that through almost a year, more than 3500 videos were generated (although this probably includes many reattempts to export a dialogue with subtle changes).
Conclusion
I didn’t plan to make money or anything; my goals were to gain experience and interact with the community. It worked and it was cool!
A fun part that I didn’t intend was how I worked in one-week sprints. Get in the zone, code for a week, start getting tired, then make a post and get lots of motivation from the feedback. And I built the project in two such weeks. I haven’t had a chance to try the same system on other projects, but I definitely will.
Eventually, I open-sourced the app and updated it a couple of times, allowing pictures in the text, GIF export, and flying particles to lighten up the background. Now that I’m writing this post, I’m thinking I should add a couple more features. I love this project.
In case you need the links: the app, GitHub repo, Reddit posts